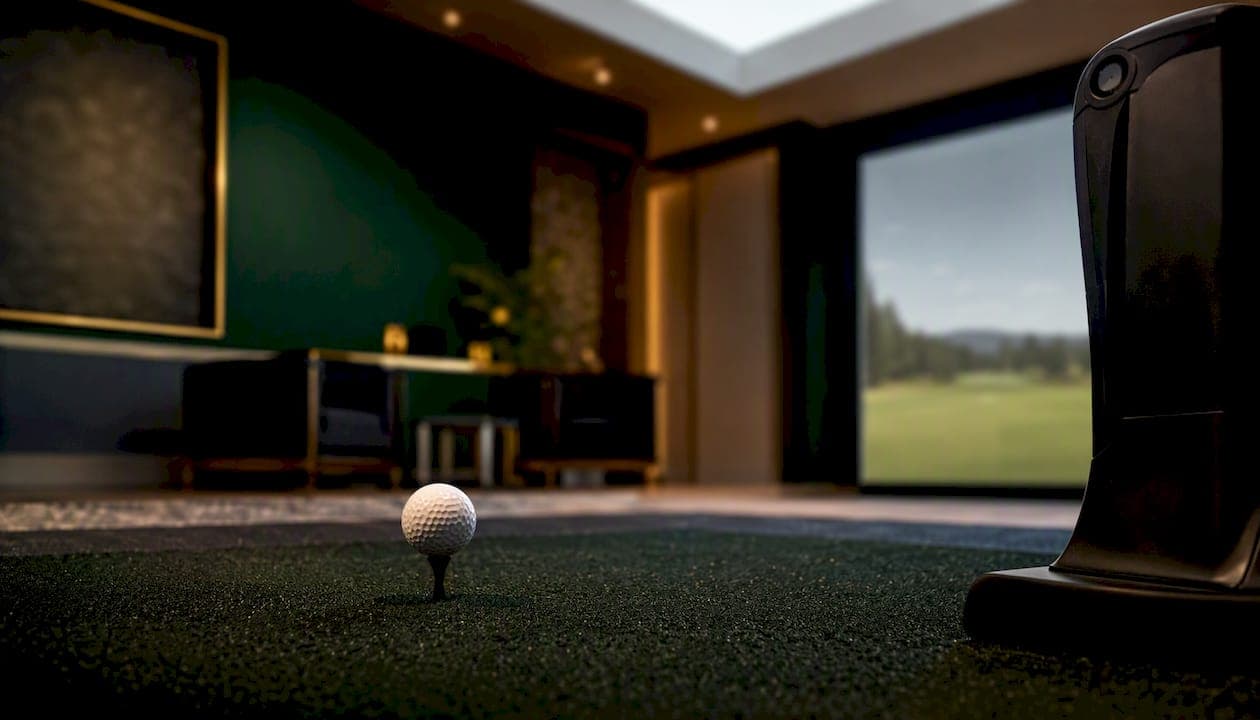
Most common home simulator data errors trace to three root causes: device placement that's off by an inch or two, room geometry that doesn't match the launch monitor's requirements, and calibration or software settings that were never verified after setup. Fix those three things and you'll resolve the majority of distance, spin, and shot-shape inaccuracies without touching hardware.
Diagnostic guides confirm that placement, room fit, lighting, and software settings collectively explain most data issues in home simulators. Before you dig deeper, run these three checks first:
- Verify placement and alignment. Measure your launch monitor's position against the manufacturer's published specs. Even a 2-inch lateral offset can skew ball speed and spin readings.
- Run a calibration routine. Most devices (SkyTrak, Foresight Sports, Uneekor) have a built-in leveling or zeroing procedure. If you haven't run it since setup, do it now.
- Test with a known-good ball. Use a clean, undamaged Titleist Pro V1 or equivalent premium ball. Scuffed or range balls introduce spin and speed noise that mimics sensor errors.
After each change, import your session data into Sim2coursecaddie to compare before-and-after distributions. The free analytics tier gives you carry distance charts and dispersion maps that make accuracy shifts visible in minutes.
Pro Tip: Run five centered 7-iron strikes before and after any adjustment. Five shots is enough to spot a systematic shift; one shot tells you almost nothing.
Key Takeaways
Most home simulator data errors are fixable without replacing hardware. Start with placement and environment, run calibration only after those are confirmed correct, and use trend-based logging to verify every change.
| Point | Details |
|---|---|
| Placement comes first | Verify device position against manufacturer specs before running any calibration routine. |
| Room geometry drives device choice | Measure total depth and ceiling height before buying; mismatched room and monitor type causes persistent errors. |
| Calibration locks in the baseline | Run leveling, ball type, and club template checks after confirming placement is correct, not before. |
| Log five shots, not one | Trend-based testing across five consistent shots separates real errors from single-shot noise. |
| Sim2coursecaddie validates fixes | Import session data into the free analytics tier to compare before/after distributions and confirm accuracy improvements. |
Table of Contents
- What causes common home simulator data errors?
- Why launch monitor placement is the biggest source of bad numbers
- How room geometry and build choices skew your data
- Calibration routines and software settings that change your numbers
- Cleaning, lighting, and environmental factors that mimic sensor errors
- How to diagnose errors for specific metrics
- A step-by-step troubleshooting checklist you can follow on your phone
- When to stop troubleshooting and contact vendor support
- How to use Sim2coursecaddie to validate fixes after each change
- How AI and machine learning are improving simulator error correction
- How error patterns differ across simulator brands and technologies
- Sim2coursecaddie turns raw sim data into clear accuracy feedback
- Sources
What causes common home simulator data errors?
Understanding which category your problem falls into cuts troubleshooting time dramatically. Most home simulation errors belong to one of six buckets.
- Placement and alignment. The launch monitor is too far, too close, angled, or vibrating. Affected metrics: ball speed, spin rate, launch angle. Fix time: minutes.
- Room and build geometry. Ceiling too low, screen too close, or side clearance too tight for the sensor's field of view. Affected metrics: carry distance, shot shape. Fix time: hours to days.
- Calibration and firmware/software settings. Factory calibration was skipped, firmware is outdated, or club/ball templates are wrong. Affected metrics: all. Fix time: minutes to hours.
- Environment and maintenance. Dust on the lens, reflective club finishes, inconsistent lighting, or mat wear. Affected metrics: spin, ball speed, registration failures. Fix time: minutes.
- Hardware faults. Intermittent sensor failures, overheating, or physical damage. Affected metrics: all, unpredictably. Fix time: replacement.
- Data interpretation and software models. Carry vs. total distance confusion, wrong turf firmness settings, or misread error codes. Affected metrics: distance, shot shape. Fix time: minutes once identified.
| Category | Diagnostic clue | Affected metrics | Fix complexity |
|---|---|---|---|
| Placement and alignment | Readings shift when you move the device slightly | Ball speed, spin, launch angle | Minutes |
| Room and build geometry | Long clubs consistently read short; shot shape truncated | Carry distance, shot shape | Hours to days |
| Calibration and firmware | All metrics drift after a software update | All metrics | Minutes to hours |
| Environment and maintenance | Intermittent misreads; spin spikes on clean strikes | Spin, ball speed, registration | Minutes |
| Hardware faults | Random no-reads; device restarts mid-session | All metrics, unpredictably | Replacement |
| Data interpretation | Carry and total distance look swapped | Distance, shot shape | Minutes |
Why launch monitor placement is the biggest source of bad numbers
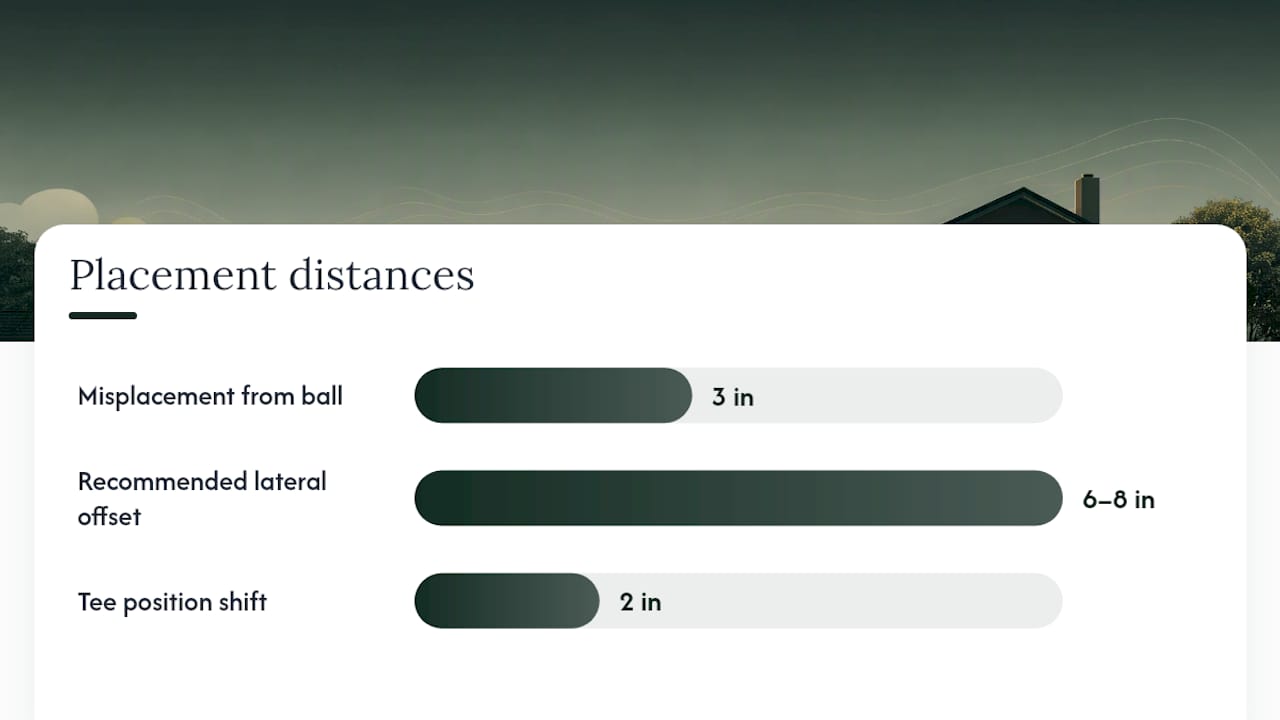
Small placement errors punch above their weight. A launch monitor that's 3 inches too far from the ball can underread ball speed by several mph, which compounds into 10 or more yards of carry error. Spin readings are even more sensitive to angle.
Overhead photometric and floor-based camera systems have different mounting requirements, but both deliver accurate data when installed to published specs and matched to the room. The failure mode is almost always skipping the measurement step.
Alignment checklist:
- Floor-mounted side units (SkyTrak-style): Position the unit 6–8 inches to the right of the ball (for right-handed golfers), aligned with the ball's equator, on a stable non-vibrating surface. Confirm the unit is level front-to-back and side-to-side.
- Rear-mounted radar units (Foresight GCQuad, GC3): Follow the manufacturer's specified distance behind the ball precisely. Lateral offset matters less than distance and height.
- Overhead photometric units (Uneekor QED, EYE XO): Mount at the published height above the hitting surface, centered over the hitting zone. Confirm the hitting mat is positioned within the defined strike zone, not at the edge.
- Multi-camera setups: Each camera needs its own alignment verification. A single misaligned camera in a four-camera array skews the triangulated result.
Alignment verification shot pattern:
- Hit five centered 7-iron shots from a fixed tee position.
- Note whether ball speed and spin are consistent shot to shot (within 2–3 mph and 200 rpm).
- Move the tee 2 inches forward and repeat. If readings shift dramatically, the device is sensitive to tee position, which means placement needs adjustment.
- Check that the device's indicator lights or status display show a clean read on every shot.
Pro Tip: Use a strip of painter's tape on the mat to mark the exact tee position and the device's front edge. That way, if the device gets bumped, you can restore it to the verified position in 30 seconds.
How room geometry and build choices skew your data
Buying a launch monitor before measuring the room is one of the most common setup mistakes and a reliable source of persistent data issues. Room depth should drive monitor category choice, not the other way around.
The three dimensions that matter most are total room depth (tee to screen), ceiling height, and side clearance. Each creates a different failure mode.
- Total depth too short: Radar-based units need room for the ball to travel before the sensor can calculate spin and speed accurately. A room under 12 feet of depth forces you toward camera-based or overhead photometric systems.
- Ceiling too low: Overhead units need a minimum mounting height (typically 9–10 feet for most models). A 8-foot ceiling rules out most overhead systems entirely.
- Side clearance too tight: Camera-based side units need unobstructed line-of-sight to the ball. A wall within 18 inches of the hitting zone can cause reflection errors or blocked reads.
| Room constraint | Recommended minimum | Failure mode if violated | Workaround |
|---|---|---|---|
| Total depth (tee to screen) | 12 feet for radar; 10–12 feet for camera | Short carry reads; spin errors | Switch to overhead or camera system |
| Ceiling height | 9 feet minimum; 10+ feet preferred | Overhead mount impossible; swing clearance lost | Floor or side-mount system |
| Side clearance | 5 feet each side preferred | Reflection errors; blocked reads | Absorptive side panels; reposition unit |
| Screen distance from tee | 8–10 feet minimum | Impact damage; projection distortion | Shorter screen; impact screen upgrade |
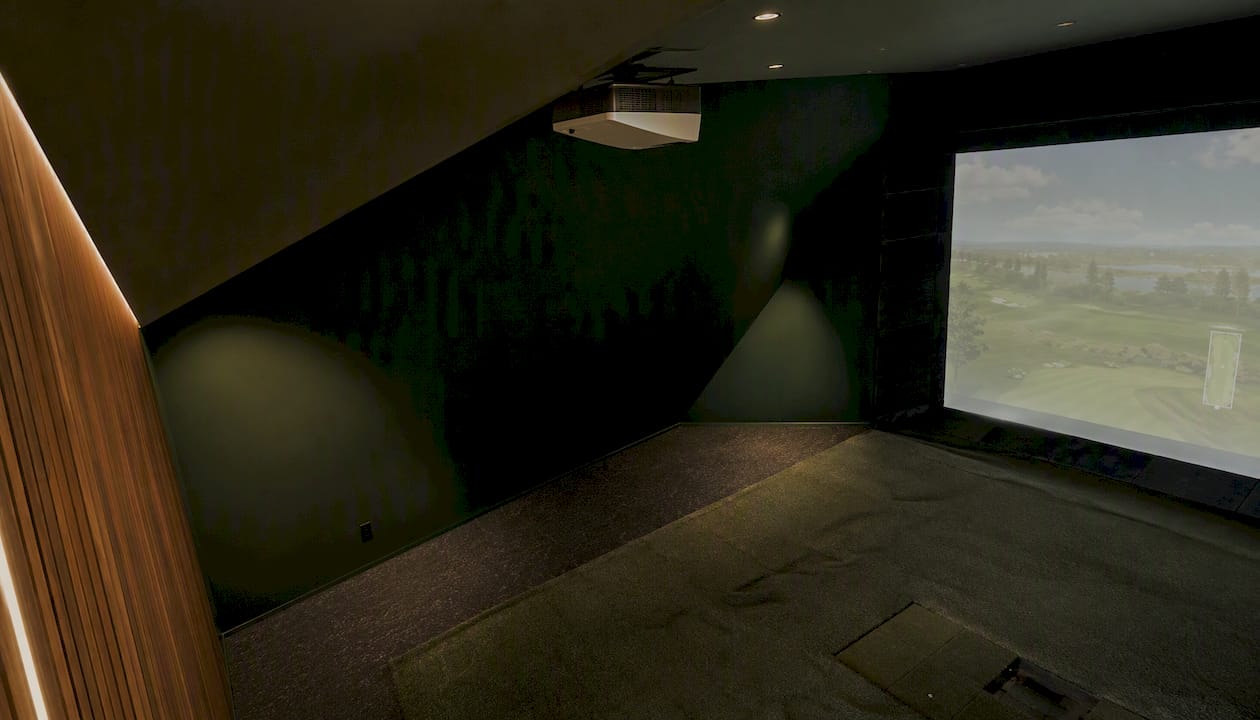
DIY build mistakes like wrong screen size, poor projector placement, and cheap mats create systematic accuracy problems that compound over time. A thin mat that compresses unevenly changes the effective tee height, which shifts launch angle readings by 1–2 degrees on every shot. For constrained spaces, check the sim data strategy for tight setups for practical workarounds.
Calibration routines and software settings that change your numbers
Calibration issues are the most underdiagnosed category because the symptoms look like hardware problems. A device that was accurate six months ago and now reads 15 yards short has probably drifted in software, not broken a sensor.
Step-by-step calibration checklist:
- Check firmware and software versions. Open the manufacturer's app (SkyTrak app, Foresight FSX, Uneekor Refine) and compare your version to the latest release. If you're behind, update before doing anything else.
- Run the device's leveling routine. Most units have a built-in level indicator. Even a 1-degree tilt changes launch angle and spin axis readings.
- Verify ball selection in software. Confirm the software is set to the ball type you're actually hitting. A Pro V1 profile and a range ball profile produce different spin models.
- Check club templates. Wrong club loft or lie settings in the software shift carry distance calculations. Verify each club's template matches your actual specs.
- Run a factory calibration reset if available. SkyTrak, Foresight, and Uneekor all document factory reset procedures in their support portals. Use them when drift is severe.
- Test with a standardized shot set. Hit five 7-iron shots and compare to your known baseline. If numbers are still off, move to environment checks.
Common software-model mismatches that fool owners:
- Carry vs. total distance: Some software defaults to total distance (carry plus roll). If your numbers look 10–20 yards long, check which distance model is active.
- Turf firmness settings: Firm turf adds roll; soft turf reduces it. A setting mismatch makes your carry look accurate but total distance wrong.
- Spin model version: Some firmware updates change the spin algorithm. If readings shifted after an update, check the release notes for spin model changes.
Pro Tip: Keep a versioned calibration log: date, firmware version, ball type, and your five-shot 7-iron averages. If a firmware update breaks accuracy, you'll have the previous version number ready to report to support, and you'll know exactly when the drift started.
Cleaning, lighting, and environmental factors that mimic sensor errors
A smudged lens on a SkyTrak or Uneekor unit produces spin spikes and registration failures that look exactly like a failing sensor. Clean the lens first, every time, before assuming hardware trouble.
Cleaning and maintenance steps:
- Power down the device before cleaning.
- Use a microfiber cloth and lens-safe solution on optical surfaces. Never use paper towels or household glass cleaner.
- Inspect the hitting mat for worn patches. A compressed or torn mat surface changes the ball's lie and effective tee height.
- Remove debris from the hitting zone. Even a small piece of rubber from a worn mat can interfere with camera reads.
- Check for reflective surfaces in the sensor's field of view. Shiny club heads, metallic wall panels, and glossy floors all create false reflections that confuse photometric systems.
Lighting guidelines:
- Avoid placing a light source directly behind the golfer. Backlighting silhouettes the ball and reduces contrast for camera-based systems.
- Use diffuse, even illumination across the hitting zone. Overhead LED panels work better than spot lighting.
- Control natural light from windows. A shaft of sunlight that moves across the hitting zone during a session will produce inconsistent reads.
- If readings are worse at certain times of day, lighting is almost certainly the variable.
Maintenance frequency: clean optical surfaces before every session if the room is dusty, or at minimum weekly. Inspect the mat monthly. Check lighting consistency whenever you rearrange the room.
How to diagnose errors for specific metrics
When a specific number looks wrong, the fastest path is a controlled test: standard ball, fixed tee, repeatable swing, five shots minimum. Trend-based testing beats single-shot diagnostics every time. One outlier shot is noise; five shots in the same direction is a signal.
Diagnostic flow for distance errors:
- Confirm carry vs. total distance setting in software.
- Measure device placement against manufacturer specs.
- Hit five shots with a new Pro V1 or equivalent.
- Compare to your historical baseline or a known reference (a 7-iron carry of 150–165 yards for a mid-handicap swing is a reasonable sanity range).
- If still off, run the calibration checklist from the previous section.
For shot-shape errors, impact location on the face affects spin axis readings. A consistent heel strike reads as a draw even with a square path. Confirm strike location before blaming the sensor.
A step-by-step troubleshooting checklist you can follow on your phone
Work through this list in order. Start with the fastest, cheapest checks and only move to deeper tests if the quick ones don't resolve the issue.
- Clean all optical surfaces (2 minutes).
- Verify device placement against manufacturer specs (5 minutes).
- Check and correct ball type and club template settings in software (5 minutes).
- Run the device's leveling routine (5 minutes).
- Check firmware and software versions; update if behind (10–30 minutes).
- Run a five-shot 7-iron baseline and log the results.
- Adjust lighting: eliminate backlighting and direct sunlight (10 minutes).
- Inspect the mat for wear; replace if compressed or torn.
- Run a factory calibration reset if available.
- If still unresolved, capture logs, firmware version, and test-shot video for vendor support.
Logging template (copy this into a notes app or spreadsheet):
- Date and time
- Firmware version and software version
- Ball type used
- Device placement measurements (distance from ball, height, lateral offset)
- 5-shot averages: carry distance, ball speed, spin rate, launch angle, clubhead speed
- Notes on lighting and room conditions
- What changed since the last session
Automating session capture removes the manual logging burden and gives you a timestamped record that's easy to share with vendor support.
Verification test protocol:
- Use the same ball model every time (Pro V1 or equivalent).
- Mark a fixed tee position with tape.
- Hit five shots with a repeatable, controlled swing (not your hardest swing).
- Record all five shots, not just the best three.
- Compare averages, not individual shots.
When to stop troubleshooting and contact vendor support
Some problems don't respond to DIY fixes. These are the red flags that mean it's time to escalate.
- Intermittent sensor death: The device reads fine for 10 shots, then stops registering for 3, then comes back. That pattern points to a hardware fault, not a settings issue.
- Persistent no-registration after a verified clean setup: You've cleaned the lens, confirmed placement, used a new ball, and the device still misses shots regularly.
- Component overheating: The device is hot to the touch after 20 minutes of use. Thermal throttling can cause erratic readings before full failure.
- Readings that are wildly inconsistent shot to shot with no environmental explanation: Ball speed varying by 20+ mph on identical swings is a sensor problem, not a calibration problem.
Support prep checklist:
- Export your session logs and note the date the problem started.
- Record your firmware and software versions.
- Take a short video of the device during a session showing the misreads.
- Photograph the room setup: device position, lighting, mat condition.
- Note any recent changes (firmware update, room rearrangement, new mat).
Rough replacement cost context: entry-level camera-based units run $500–$2,000; mid-range photometric systems run $3,000–$7,000; professional-grade units exceed $10,000. For units under warranty, vendor repair is almost always worth pursuing before replacement. For out-of-warranty units in the $500–$1,500 range, replacement often costs less than a repair service call.
How to use Sim2coursecaddie to validate fixes after each change
Fixing a placement issue or running a calibration reset is only half the job. You need to confirm the fix actually improved accuracy, and that's where a structured analytics workflow pays off.
Workflow:
- Export your session data from your launch monitor's native app (SkyTrak, Foresight FSX, Uneekor Refine all support CSV or JSON export).
- Import into Sim2coursecaddie. The app accepts data from any simulator or launch monitor, so you're not locked to one device ecosystem.
- Pull up the dispersion map. A well-calibrated system shows a tight, symmetric dispersion pattern for a controlled 7-iron. A wide or asymmetric pattern after a fix attempt tells you something is still off.
- Check the carry distribution chart. Compare your post-fix average carry to your pre-fix baseline. A consistent 10-yard shift in the right direction confirms the fix worked.
- Review time-series drift. If carry distance trends downward over a session, the device may be warming up or the mat is compressing. Sim2coursecaddie's session history makes that drift visible across multiple sessions.
- Export a diagnostic report. The report bundles your shot distributions, averages, and session notes into a format you can attach to a vendor support ticket.
The analytics workflow setup guide walks through the full export-to-import process for common launch monitor brands. For ongoing calibration tracking, building a performance dashboard from your session data gives you a long-term view of accuracy drift before it becomes a visible problem.
Pro Tip: Run your five-shot verification test before and after every firmware update. Import both sessions into Sim2coursecaddie and compare the carry distributions side by side. A firmware update that shifts your average carry by more than 5 yards is worth reporting to the manufacturer.
The free analytics tier handles all of this. You don't need the Pro subscription to validate calibration fixes.
How AI and machine learning are improving simulator error correction
The newest generation of launch monitors and simulator software uses machine learning to reduce systematic errors rather than just report them. The practical effect for owners is that some errors that required manual calibration in older systems now get corrected automatically.
Foresight Sports' newer units use ML-based ball-flight models that adjust spin and launch predictions based on accumulated shot history, reducing the impact of single-shot outliers. Uneekor's overhead systems apply image-processing algorithms that filter reflections and lighting artifacts in real time, which cuts the false-read rate in variable-lighting environments.
On the software side, some simulator platforms now flag statistically anomalous shots automatically, marking them as potential misreads rather than including them in session averages. That's a direct answer to the problem swing-analysis guidance identifies: more raw metrics don't help unless you have a way to separate signal from noise.
The limitation is that ML correction works best when the underlying hardware is functioning correctly. It smooths out noise; it doesn't fix a misaligned sensor or a dirty lens. Think of it as a second layer of quality control, not a substitute for proper setup.
How error patterns differ across simulator brands and technologies
The type of error you're most likely to see depends heavily on which technology your system uses.
Camera-based side units (SkyTrak) are most sensitive to placement distance and lateral offset. The most common data issues in this category are carry distance errors from incorrect tee-to-unit distance and spin errors from lens contamination. These are almost always fixable in minutes.
Radar-based units (Foresight GCQuad, GC3) need adequate room depth to track the ball long enough for accurate spin measurement. In short rooms, spin loft errors are the characteristic failure. They're also more sensitive to ball condition than photometric systems.
Overhead photometric systems (Uneekor QED, EYE XO) have the most complex installation requirements but tend to be the most stable once correctly mounted. Their characteristic errors are hitting-zone boundary issues (the ball is struck outside the defined zone) and lighting-induced false reads. Both are environmental, not hardware.
Multi-camera setups introduce a unique failure mode: camera synchronization drift. If one camera's timestamp drifts relative to the others, triangulated ball position becomes inaccurate. This shows up as inconsistent shot-shape readings that don't correlate with actual swing path.
The practical takeaway: match your troubleshooting approach to your technology. A SkyTrak owner should check placement and lens first. A Foresight owner in a short room should check room depth and ball condition. An Uneekor owner should check mounting height and lighting.
What most owners get wrong about fixing simulator data
The conventional wisdom says to start with calibration. That's backwards. Calibration corrects for a correctly installed device that has drifted. If the device was never correctly installed, calibration just locks in the wrong baseline.
The right order is: placement first, environment second, calibration third. Most owners skip straight to calibration because it's the most visible step in the app. They run the routine, see a confirmation screen, and assume the problem is solved. Then they're confused when the numbers are still off.
The second mistake is treating a single outlier shot as a data point. One 220-yard 7-iron doesn't mean your system is broken. Five consecutive 220-yard 7-irons means something is wrong. Trend-based testing is the only reliable diagnostic method, and it requires logging, not just looking at the screen.
DIY builders face a specific tradeoff: spending an afternoon on proper placement and room measurement saves weeks of chasing phantom calibration errors later. A pro installer who has set up 50 rooms knows the common failure points by feel. If your room has unusual geometry, that expertise is worth the cost.
Sim2coursecaddie turns raw sim data into clear accuracy feedback
After you've worked through placement, calibration, and environment checks, you need a way to confirm the fix held and track accuracy over time. That's the gap Sim2coursecaddie fills without adding hardware or a costly subscription.
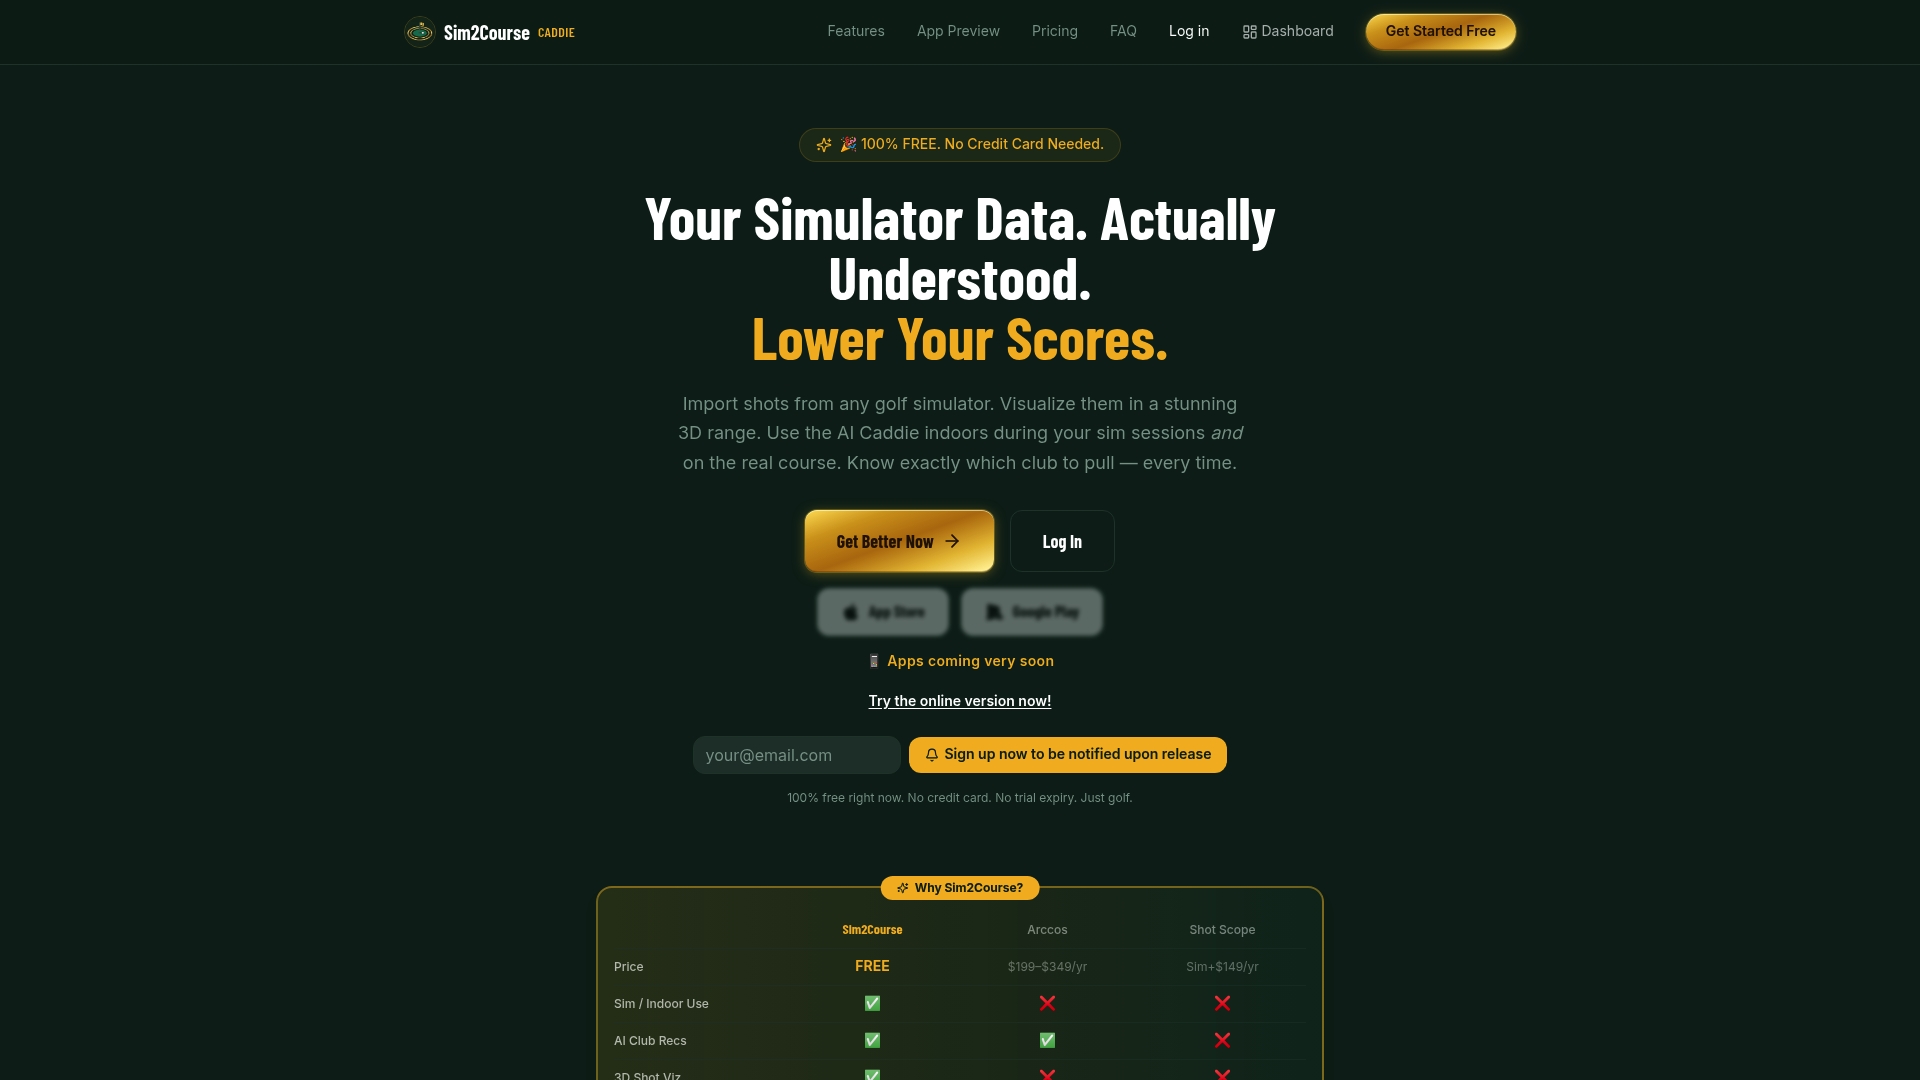
Import session data from any launch monitor (SkyTrak, Foresight, Uneekor, or any CSV-compatible system) into Sim2coursecaddie's free analytics tier and you get immediate visibility into whether your fixes actually moved the numbers.
- Import any simulator data: CSV or native export from all major launch monitors, no extra hardware required.
- 3D shot visualizations and dispersion maps: See carry distribution and shot shape in a format that makes calibration shifts obvious.
- Verification templates: Built-in before/after comparison tools that generate a diagnostic report you can attach to a vendor support ticket.
Start with free analytics and run your first verification session today. No subscription required to validate your calibration fixes.
Sources
These resources cover device-specific calibration steps, build planning, and structured troubleshooting for home simulator owners.
- Golf Simulator Inaccuracy: Fix Distance, Spin & Shot Shape
- Overhead vs Floor Launch Monitor for a Home Golf Simulator: What Serious Golfers Should Choose
- Golf Simulator Swing Analysis: How to Use Data to Improve Your Game
These sources are for further reading. For warranty repairs or device-specific calibration procedures, always follow your manufacturer's official documentation.