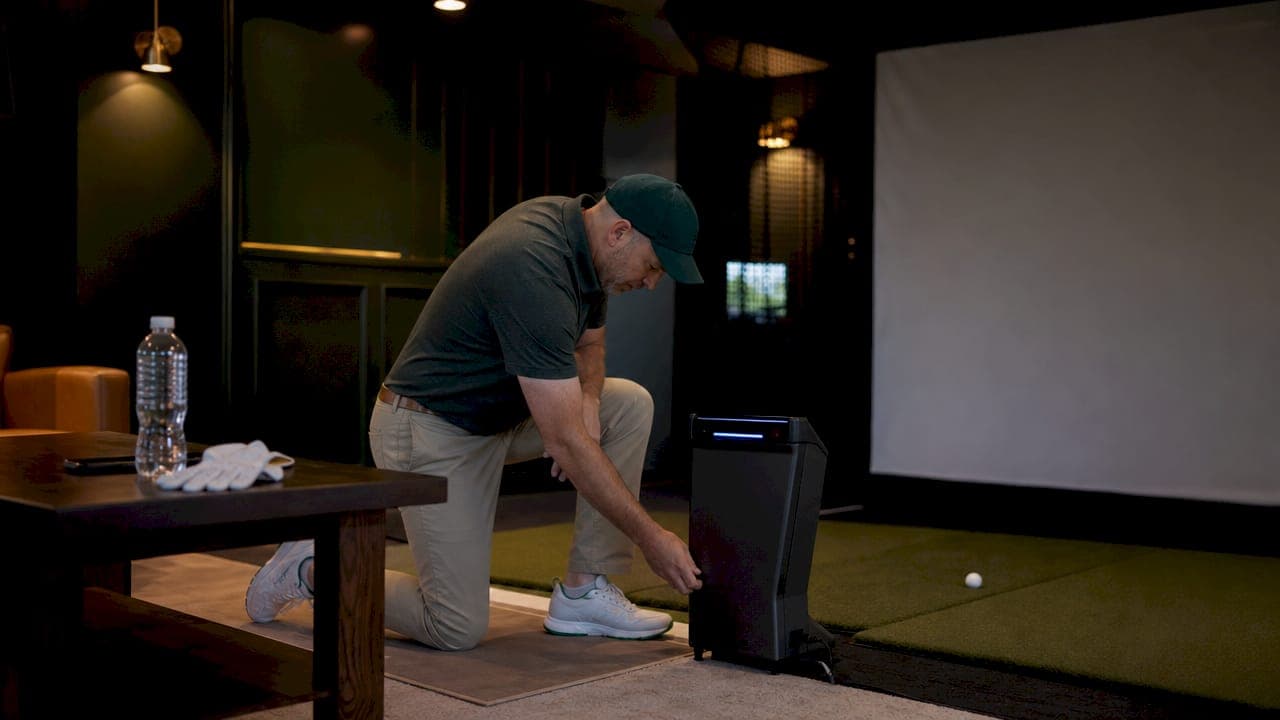
Automated performance tracking in a home golf simulator is defined as the process of capturing, storing, and analyzing shot data without manual input between sessions. The right setup turns every swing into a data point you can act on. Most players who buy a simulator stop at the hardware. They hit balls, enjoy the visuals, and never extract the performance data sitting right in front of them. This guide covers the hardware, software, space requirements, and analysis methods you need to fully automate your home simulator tracking and start practicing with purpose.
What does it mean to automate performance tracking in a home simulator?
Automated performance tracking means your system records every shot automatically, organizes the data by session, and surfaces trends without you opening a spreadsheet. The industry term for this workflow is automated shot analytics, and it sits at the intersection of launch monitor technology and performance analysis software. The goal is not just data collection. The goal is removing friction so you practice more and analyze smarter.
Multi-session tracking is the foundation of this approach. A single session tells you how you hit the ball that day. Fifty sessions tell you whether your carry distance is improving, whether your dispersion is tightening, and which clubs consistently underperform. That is the difference between a practice log and a performance system.
A complete home golf simulator setup costs between $3,500 and $15,000, depending on the components you choose. That investment only pays off when the data it generates is captured and used.
What hardware and software do you need for automated tracking?
The launch monitor is the single most important component in any automated tracking system. Choosing your launch monitor first avoids costly mismatches with software, room dimensions, and data output. Every other component in your setup follows from that decision.
| Component | Role in automated tracking |
|---|---|
| Launch monitor | Captures ball speed, spin rate, launch angle, and club path per shot |
| Impact screen | Provides the projection surface and absorbs ball impact safely |
| Projector | Displays simulation software output for real-time feedback |
| Sensors or cameras | Supplement launch monitor data for swing path and face angle |
| Analytics software | Aggregates shot data, organizes sessions, and surfaces trends |
The software layer is where automation actually happens. Basic simulator software plays courses and shows shot results. Performance analysis software goes further. It stores every shot, tags it by club and session, and generates trend reports automatically. Sim2coursecaddie connects to this layer by importing shot data from any simulator and applying AI-driven analysis to surface club-specific insights.
Key hardware considerations:
- Launch monitor type: Radar-based units (like Doppler systems) need more room depth than photometric (camera-based) units.
- Projector brightness: A minimum of 3,500 lumens prevents washed-out visuals in rooms with ambient light.
- Sensor placement: Fixed mounting points reduce recalibration frequency and improve data consistency.
- Data export format: Confirm your launch monitor exports in a format your analytics software can read automatically.
Pro Tip: Buy the launch monitor before you finalize your room layout. The unit you choose determines whether you need a 15-foot or 20-foot depth, and rebuilding a space to fit hardware is expensive.
How do you prepare your home simulator space for reliable tracking?
Room dimensions directly affect tracking accuracy. Optimal indoor simulator spaces require a minimum ceiling height of 9–10 feet, a width of 10–15 feet, and a depth of 15–20 feet, depending on the tracking technology used. Radar-based units need the deeper end of that range. Photometric systems can work in tighter spaces.
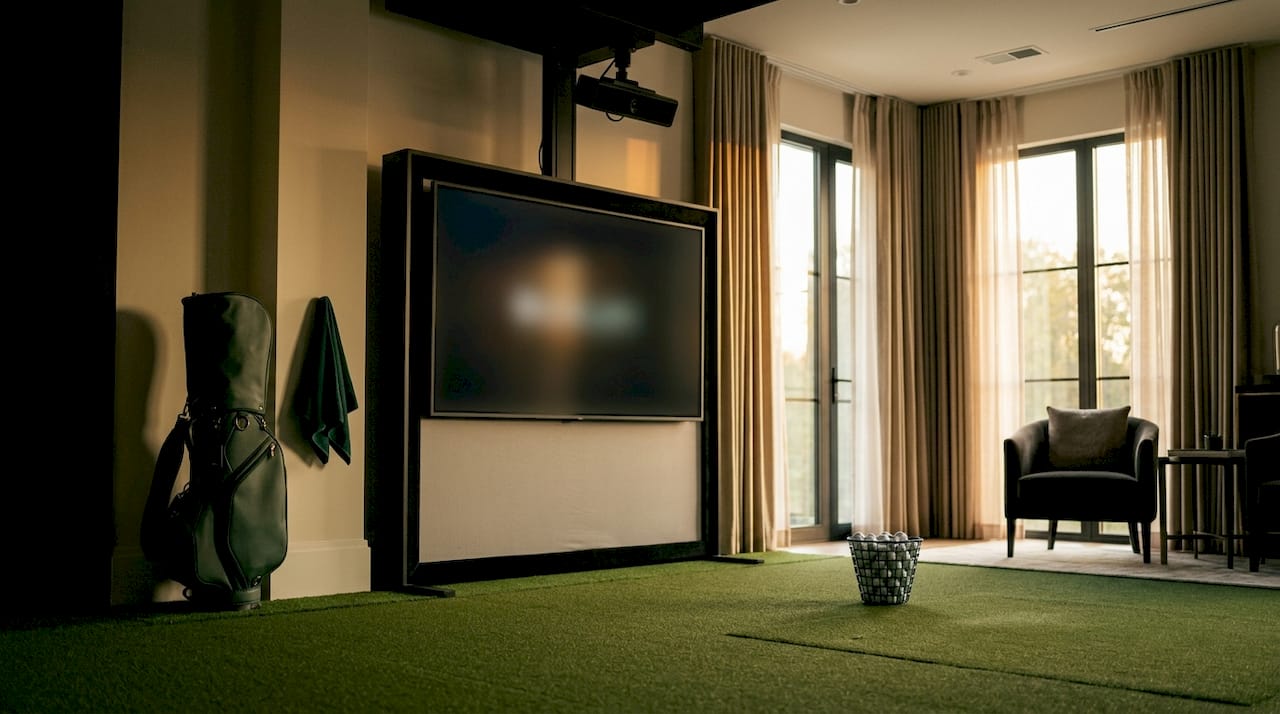
The most overlooked detail in space planning is effective height. Soffits, ducts, and light fixtures reduce your usable ceiling height below the nominal room measurement. Measure from the floor to the lowest obstruction in your swing path, not to the ceiling itself. A room with a 10-foot ceiling and an 8-inch soffit directly overhead gives you 9 feet 4 inches of effective clearance.
Space preparation checklist:
- Measure effective height accounting for all obstructions in the swing zone
- Install blackout curtains or shades to eliminate glare on sensors and screens
- Use a dedicated circuit for your simulator to avoid power fluctuations that affect sensor readings
- Mount your launch monitor on a fixed platform rather than placing it on the floor before each session
- Keep the hitting area free of dust with a mat that contains debris rather than scattering it
Lighting control matters more than most players expect. Photometric systems use cameras that can misread ball position under inconsistent or flickering light. LED panels with a fixed color temperature give these systems a stable reference point.
Pro Tip: Run your simulator through a full session before finalizing any sensor or camera mounting positions. Real swing data will reveal blind spots that a static test misses.
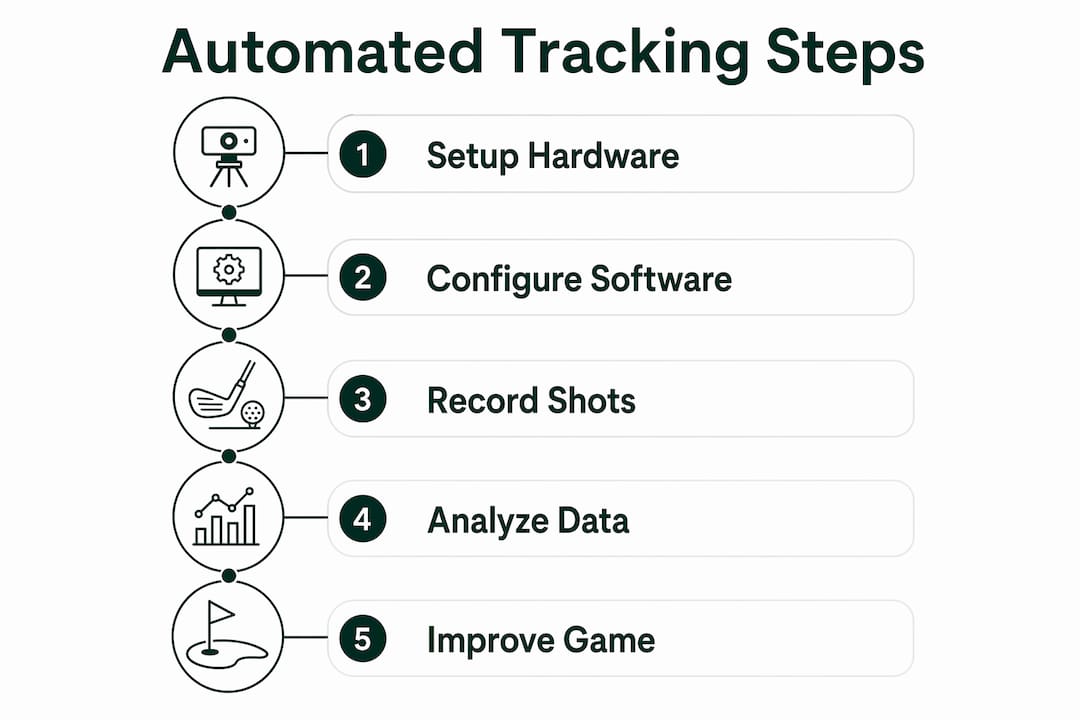
Step-by-step: how to set up and integrate automated tracking
Follow these steps in order. Skipping ahead, especially past calibration, is the most common reason tracking data comes back inconsistent.
-
Install the launch monitor at the manufacturer's specified distance and angle. Most units have a tolerance of plus or minus two inches from the ideal position. Use a laser level to confirm placement.
-
Connect the launch monitor to your simulator software via USB, Bluetooth, or Wi-Fi. Wired connections are more reliable for automated data logging. Wireless works well but adds one more variable to troubleshoot.
-
Run the software's built-in calibration sequence. This step maps the launch monitor's coordinate system to the simulator's virtual environment. Skipping it causes systematic errors in carry distance and dispersion data.
-
Link your analytics platform to the simulator software. Sim2coursecaddie, for example, imports shot data directly from your simulator, so every session populates your performance history automatically without manual export.
-
Set up automatic session logging. Configure the software to create a new session file each time you start a round or practice drill. This keeps your data organized by date and club without any manual tagging.
-
Test with 20 shots across three clubs. Check that carry distances match your known averages within a reasonable margin. If they do not, recheck launch monitor placement before continuing.
-
Schedule your first calibration review for 30 days out. Industry standards call for monthly calibration and sensor cleaning every 7–10 days. Build both into your calendar now, not after you notice data drift.
Pro Tip: Label each session with a practice goal before you start, such as "driver dispersion" or "wedge carry control." Analytics software can filter by these tags later, making trend analysis much faster.
Common setup issues and fixes:
- Erratic spin data: Usually caused by a dirty sensor lens. Clean with a blower bulb and a microfiber cloth with dedicated lens solution. Household glass cleaners damage sensor coatings and should never be used.
- Inconsistent carry readings: Check that the launch monitor has not shifted from its calibrated position.
- Software not receiving data: Confirm the data export port in your simulator software matches the import setting in your analytics platform.
How do you analyze automated performance data to improve your game?
Raw data and useful insights are not the same thing. Modern launch monitors can reach 99% accuracy, but that precision only matters when the data is interpreted correctly. A player who sees 47 metrics per shot and does not know which three to act on is no better off than a player with no data at all.
The shift toward gamified analytics addresses this directly. Instead of presenting a table of numbers, well-designed analytics platforms convert ball flight data into visual feedback that explains the cause behind each result. Sim2coursecaddie does this by visualizing shots in a 3D driving range and surfacing AI-driven club recommendations based on your actual performance history.
Focus on these metrics first:
- Carry distance by club: Establishes your real yardages, not manufacturer averages.
- Dispersion radius: Shows how consistent your contact is across a session.
- Launch angle and spin rate: Identifies whether ball flight issues come from swing or equipment.
- Session-over-session trends: Reveals whether a metric is improving, declining, or stable over time.
| Metric | What it tells you | How to act on it |
|---|---|---|
| Carry distance | Your actual yardage per club | Update your course management decisions |
| Dispersion radius | Contact consistency | Identify which clubs need more focused practice |
| Spin rate | Ball flight control | Adjust equipment or swing path if spin is too high or low |
| Trend over sessions | Long-term improvement | Confirm whether a practice change is working |
Tracking multiple clubs across sessions reveals patterns that single-club practice hides. A player who only tracks their driver will never see that their 7-iron dispersion is three times wider than their 6-iron. That gap is where strokes are lost on the course.
Choosing your launch monitor based on primary practice goals also reduces data noise. A player focused on ball flight control needs spin axis and launch angle data. A player working on distance needs ball speed and smash factor. Tracking everything equally dilutes focus and slows improvement.
Key Takeaways
Automated performance tracking in a home golf simulator delivers consistent, organized shot data that drives real improvement only when the hardware, space, and software are set up and maintained correctly.
| Point | Details |
|---|---|
| Launch monitor selection | Choose your launch monitor first; it determines room size, software compatibility, and data accuracy. |
| Space preparation | Measure effective ceiling height accounting for ducts and soffits, not just nominal room dimensions. |
| Calibration schedule | Calibrate monthly and clean sensors every 7–10 days to maintain data accuracy and extend equipment life. |
| Focus on key metrics | Track carry distance, dispersion, and session trends rather than monitoring every available data point. |
| Multi-session analysis | Comparing data across sessions reveals improvement trends that single-session reviews cannot show. |
Why most simulator owners are leaving their best data on the table
I have talked with a lot of serious golfers who spent real money on their simulator setups. The hardware is dialed in. The room is built right. But when I ask how they use their data between sessions, the answer is almost always the same: they do not. They hit balls, enjoy the simulation, and move on.
The uncomfortable truth is that a simulator without a structured tracking system is just an expensive way to hit balls indoors. The data advantage only materializes when you collect it consistently, store it across sessions, and actually review it. That review does not need to take long. Fifteen minutes after a session, looking at dispersion trends and carry averages, is enough to shape the next practice block.
I have also seen players fall into the opposite trap: tracking everything and acting on nothing. Forty metrics per shot is not useful. Three metrics you understand and monitor over time is a performance system. Selecting a launch monitor aligned with your practice goals is the first filter. The second filter is choosing analytics software that surfaces the right insights rather than dumping raw numbers on you.
The maintenance piece is where I see the most neglect. Simulators cleaned and calibrated regularly have a 20–30% longer lifespan and deliver more consistent data. That is not a minor benefit. Dirty sensors introduce systematic errors that compound over time, and you will not notice them until your carry distances are off by 10 yards and you cannot figure out why.
My recommendation for anyone just starting with automation: set up your system, run it for 30 days without changing anything, and then review the data. You will see patterns you never noticed on the course. That is when the investment starts paying off.
— Jeff
Sim2coursecaddie: built for golfers who take their data seriously
Serious golfers who have invested in a home simulator deserve analytics that match that commitment.
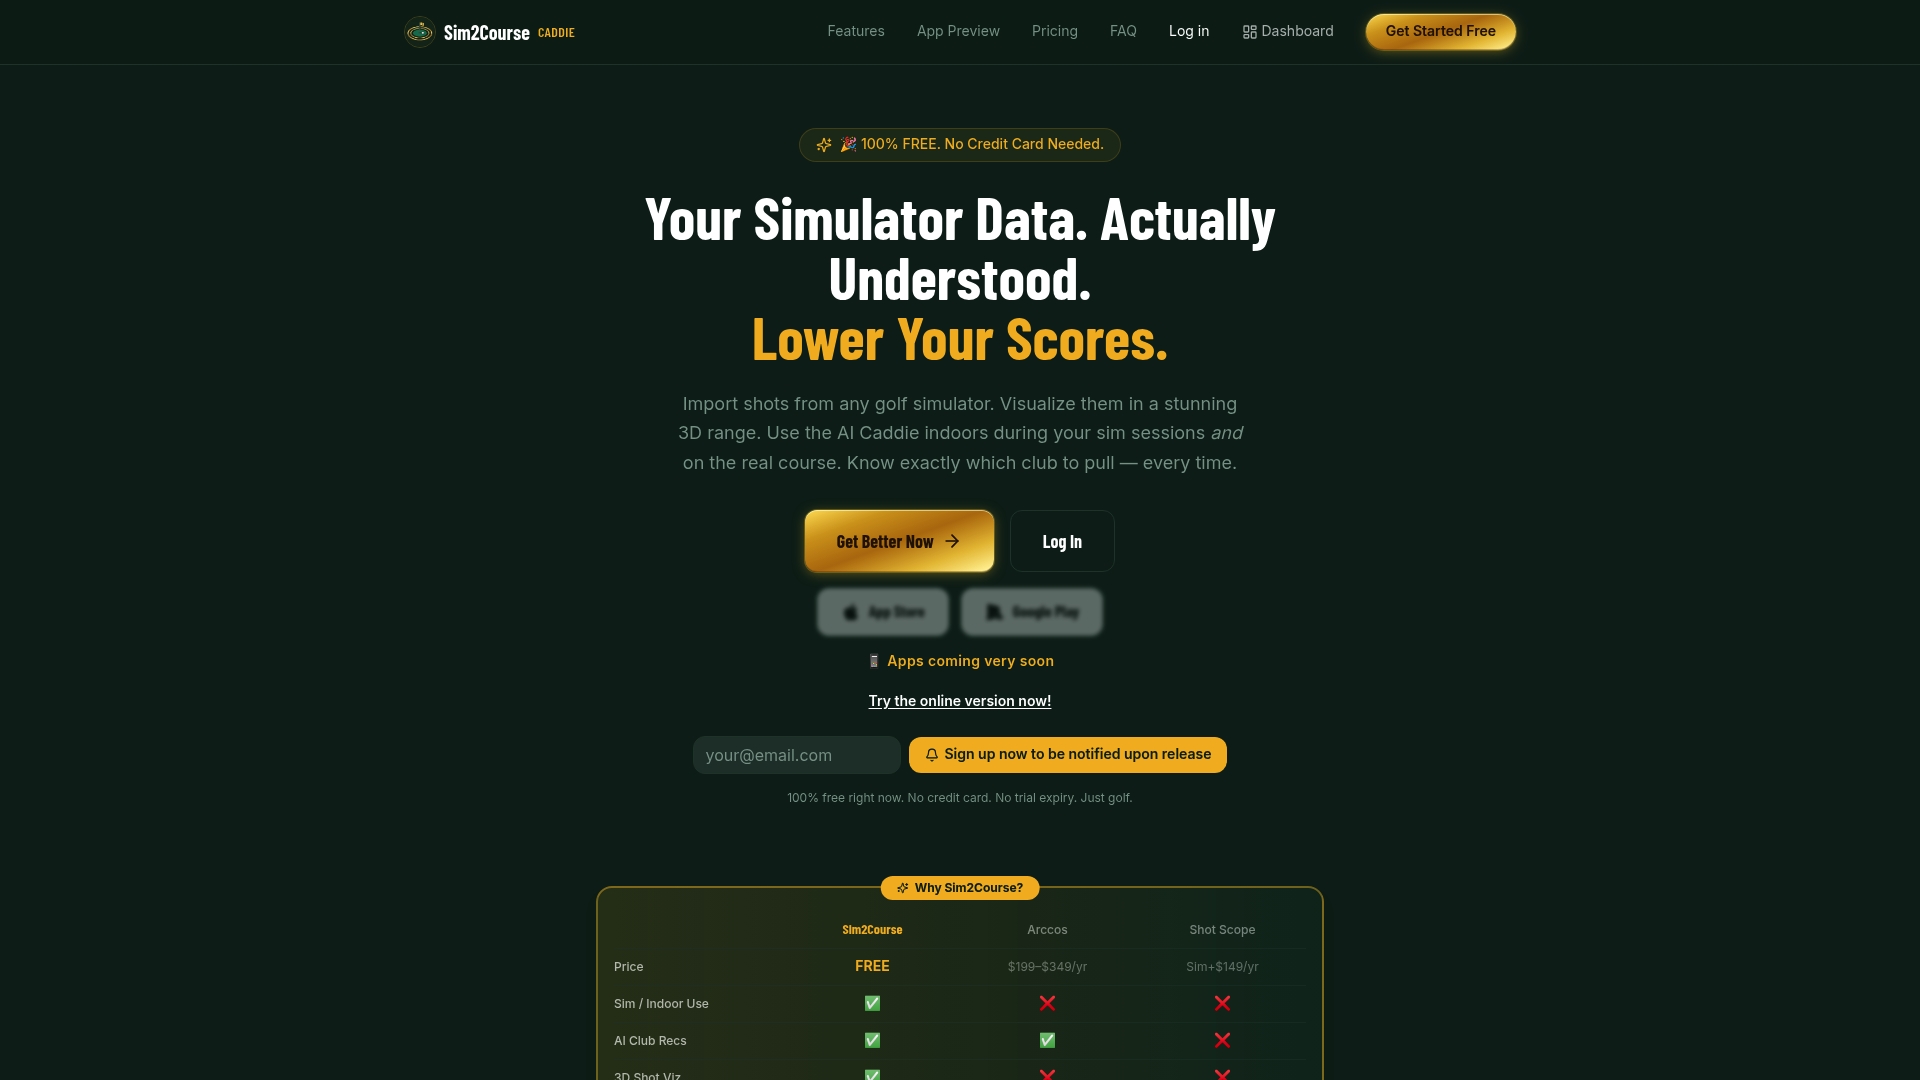
Sim2coursecaddie imports shot data from any golf simulator and visualizes every swing in a 3D driving range, giving you a clear picture of your performance across sessions. The platform's AI-driven club recommendations are built from your actual shot history, not generic averages. You can access your raw shot data to dig into the numbers yourself, or let the platform surface the patterns for you. For players ready to go further, the upgrade options add deeper analytics and course-condition-specific recommendations. All core features are available at no cost.
FAQ
What is automated performance tracking in a home golf simulator?
Automated performance tracking is the process of capturing and storing shot data from every session without manual input. The system records metrics like carry distance, spin rate, and dispersion automatically, then organizes them for review across sessions.
How often should I calibrate my home simulator for accurate data?
Industry standards recommend monthly calibration and sensor cleaning every 7–10 days. Regular maintenance prevents data drift and extends the lifespan of your equipment by 20–30%.
What room size do I need for a home golf simulator?
A minimum of 9–10 feet of ceiling height, 10–15 feet of width, and 15–20 feet of depth is required for most setups. Radar-based launch monitors need more depth than photometric systems.
Which metrics should I focus on when analyzing simulator data?
Carry distance by club, dispersion radius, and session-over-session trends are the three most actionable metrics for most players. Tracking these consistently reveals patterns that single-session reviews cannot show.
Can I use Sim2coursecaddie with any launch monitor?
Sim2coursecaddie is designed to import shot data from any golf simulator, making it compatible with a wide range of launch monitor setups without requiring proprietary hardware.